When should I add Crop & Bleed?
Crop and Bleed is necessary for printing anytime you want your image or printed area to extend all the way to the edge of a product. Since most printers can not print on the edge of a material, we must print to an area greater than the final product. Then cut it down to size. The printed area that is cut away is called Bleed and the cut guide line is called Crop. Essentially, your image needs to extend about 1/8 or 1/4 inch beyond the size of the final product.
The need for proper bleed is even greater for 2-sided prints because each side’s image can shift and skew within the printer’s tray and inner mechanisms. We attempt to keep this misalignment to a minimum via maintenance. However, having sufficient bleed is a powerful tool in combating misalignment.
Crop & Bleed Examples
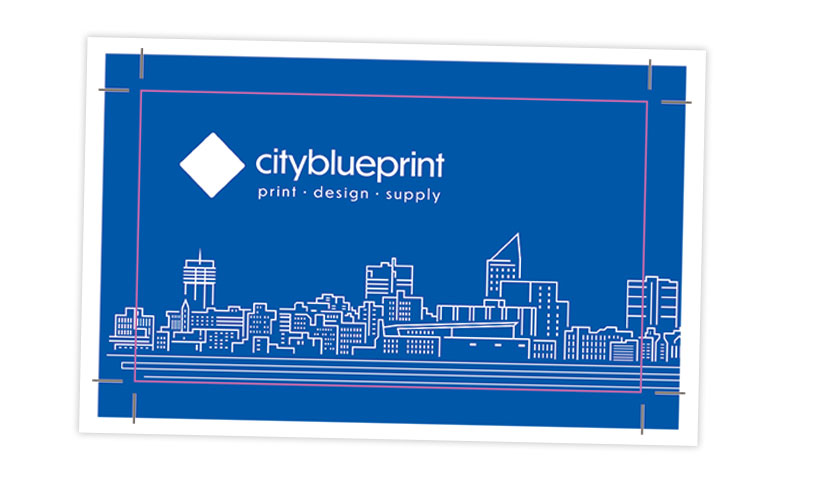
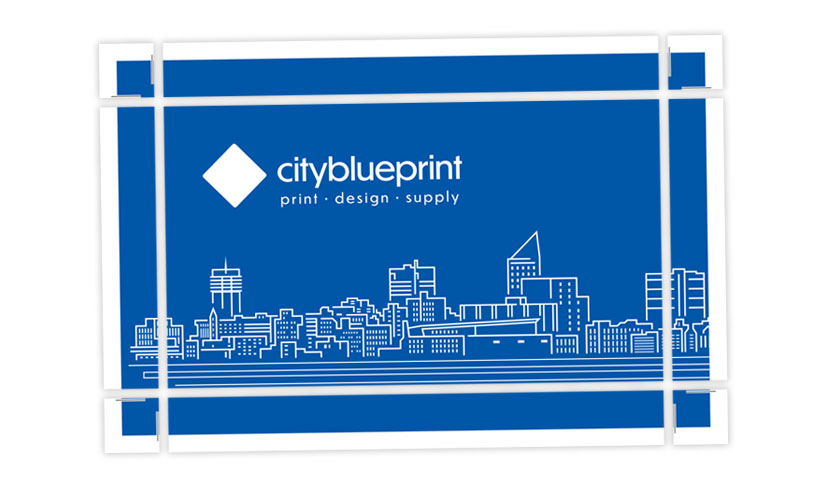
In this example, the magenta box represents the final area of the product after we trim away the excess. You can see the crop lines that we use to line up cuts. Note how the background color and skyline extend beyond the cut line. Next you see how the card looks after it is cut and the bleed trimmed away.
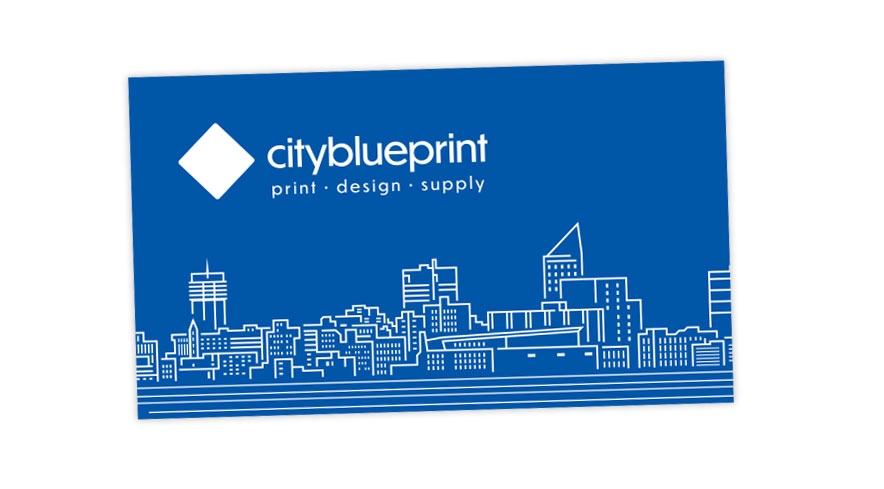
With Crop & Bleed
Only nice clean and evenly printed edges remain with ink that extends to all sides.
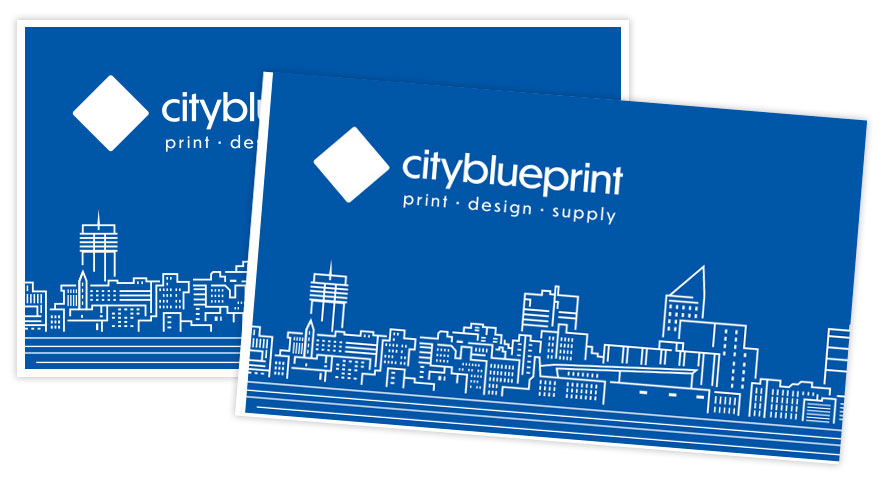
Without Crop & Bleed
Requires un-printed borders or risks leaving behind uneven edges with slivers of paper showing through.
Most design software will include options for setting up a bleed area and options for exporting your files with crop lines. Here are a few crop and bleed tutorial links for popular design software.
If you are unable to make these edits yourself, we may be able to help for a modest design fee. Depending on your file and its format, we may be able to extend your background graphics and add our own crop lines.